Installing Ball Floats: Best Irrigation Practices
At the heart of any productive farm or garden is a humble, hard-working component: the ball float valve. Install it right, and you’ll enjoy consistent water levels, zero overflows, and a system that runs smoother than a fresh jar of peanut butter. But get it wrong? You might end up with wasted water, patchy crops, or even a full-on irrigation meltdown.
Let’s break down how to install a ball float valve the right way—with a few Cocky Valve-approved tips to keep things flowing.
What is a Ball Float Valve and Why is it Important?
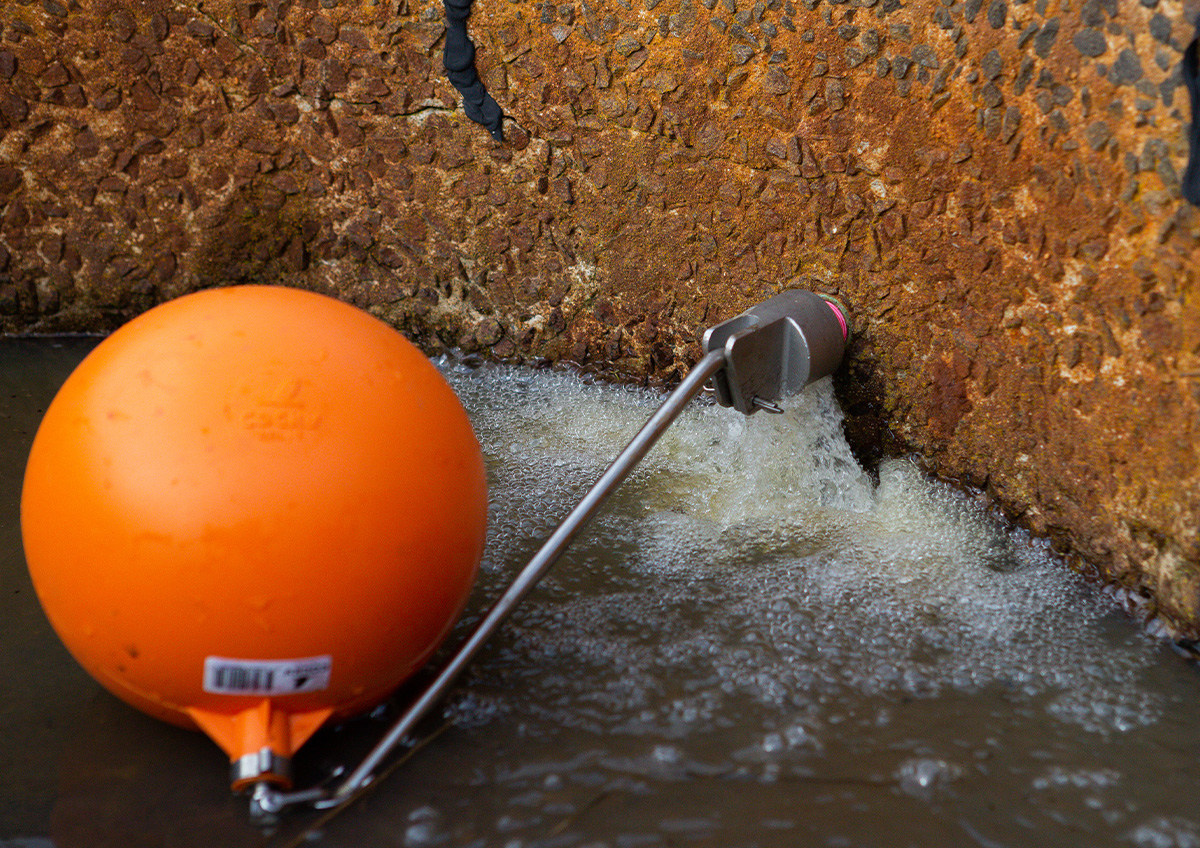
A ball float valve is a mechanical device that controls the flow of water based on the water level in a tank or trough. As water rises, the ball float lifts and eventually closes the valve to stop the inflow. When the water level drops, the float falls, opening the valve to let more water in.
In irrigation systems, these valves keep your tanks at optimal levels, prevent overflow, and help you avoid wasting precious water or damaging your system with surges.
Step-by-Step Guide to Installing a Ball Float Valve
Ball float valve installation doesn’t require a degree in engineering; just a little care and the right know-how. Here’s how to do it:
Choosing the Right Ball Float Valve for Your System
Not all valves are created equal. Before installing, make sure you’ve got the right gear for your setup:
- Tank size: Bigger tanks may need larger valves for faster refill rates.
- Water pressure: High-pressure systems require heavy-duty valves that can handle the force.
- Valve material: Brass or stainless steel for durability, plastic for lighter jobs.
Step-by-Step:
- Shut off the water to the tank or system you’re working on.
- Mark the installation point on the side of the tank at the desired water level.
- Drill the hole to suit your valve’s thread size (double-check this before drilling—trust us).
- Insert the valve, positioning the float arm so it moves freely up and down.
- Secure with washers and locknuts, ensuring a snug, leak-proof fit.
- Reconnect the water supply and test the valve. Watch it rise and shut off the flow like a champion.
- Check for leaks and tighten if necessary.
Common Mistakes to Avoid During Installation
- Poor alignment: If the float hits the side of the tank, it won’t move freely.
- Using the wrong valve for your pressure: This leads to wear and early failure.
- Forgetting leak checks: Even a slow drip can cause big problems over time.
Maintenance Tips for Ball Float Valves
- Inspect regularly: Look for signs of wear, corrosion, or buildup.
- Clean the valve: Debris can clog the mechanism. Rinse it out now and then.
- Test functionality: Lift the float manually to ensure it opens and closes smoothly.
Ensuring Long-Term Efficiency with Proper Ball Float Installation
Taking the time to install your ball float valve correctly is a small step with big payoffs. You’ll extend the life of your irrigation system, cut down on water waste, and avoid unnecessary headaches down the track.
With Cocky Valve’s premium range of ball floats and these best practices, you’re well on your way to irrigation success—no floaters left behind.